| Option | Description |
|---|---|
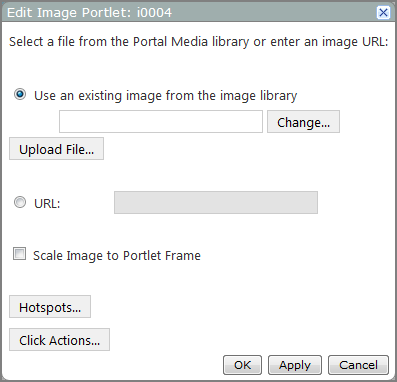
| Use an existing image from the image library |
Indicates that you want to use an image that is stored in the DivePort image library. The image library default location is di/solution/webdata/<diveport>/doc-libraries/Portal Media/images/. You can specify the file path in the text box or click Change to open the Select an existing library file dialog box, and then select the library and image file. |
|
Change |
Opens the Select an existing library file
NOTE: This option is available only when Use an existing image from the image library is selected. |
|
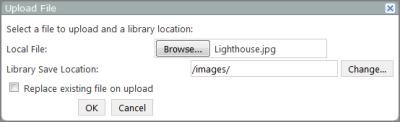
Upload File |
Opens the Upload File
NOTE: This option is available only when the Use an existing image from the image library radio button is selected. |
| URL |
Indicates that you want to use an image from the web. Enter the URL of the image file in the adjacent text box. |
| Scale Image to Portlet Frame |
Adjusts the image to fit in the portlet. The image maintains its width by height ratio. Use this to reduce the size of large graphics without resizing the image portlet. NOTE: If this option is cleared, the image is drawn at its original size and resizing the portlet has no effect. |
| Hotspots |
Opens the Hotspots dialog box, which you can use to format sections of the image into hotspots and enter tooltip text. The tooltip appears when a user holds the pointer over the defined region for more than one second. |
| Click Actions |
Opens the Click Actions dialog box, which you can use to add link-scoped click actions to the portlet instance. |

See also: