Navigating the My Library Interface
When

To navigate the My Library interface:
-
On the left side of the navigation panel, click the menu selector.


The My Library menu panel opens in a popup window. It contains all environments and their shelves and pages.


NOTE: A setting at the portal level or environment level determines if the menu panel lists are initially expanded or collapsed.
-
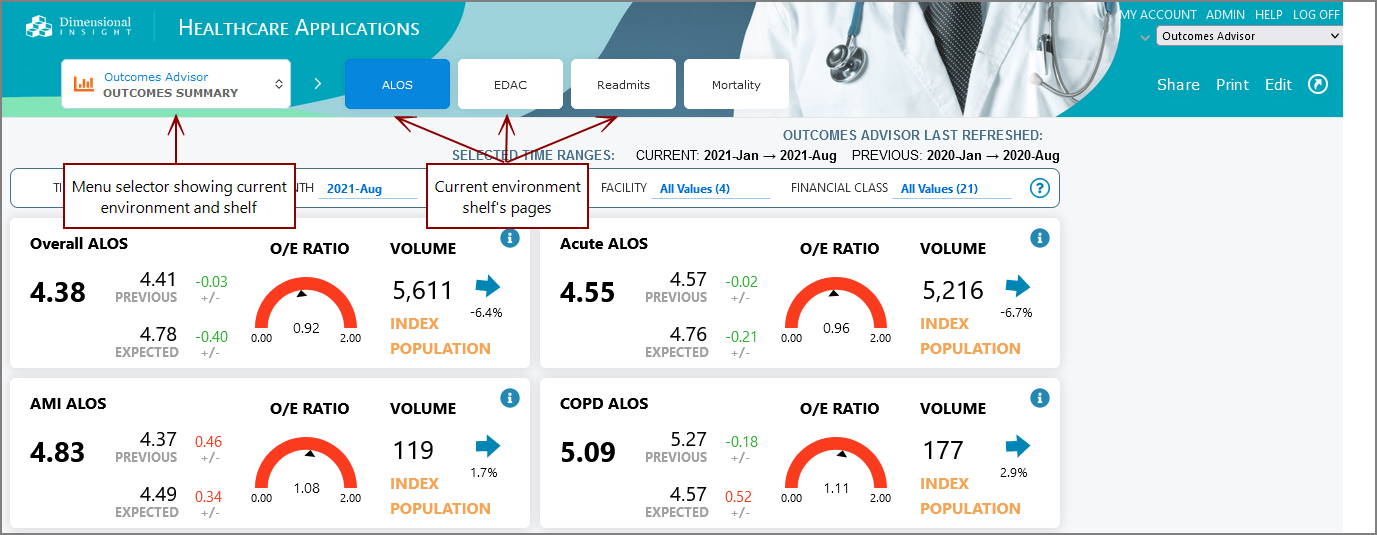
Under your preferred environment, navigate to a shelf and select a page.


The menu panel closes to reveal the selected page. The top navigation panel menu selector shows the selected environment and shelf, and shelf pages. The selected page link is highlighted.

-
On the navigation panel at the top of the page, you can navigate to another page on the shelf.
Navigating to your shortcuts
You can navigate to your shortcuts multiple ways:
-
On the menu selector, select My Library.
Your shortcuts appear at the top of the menu panel.

Double-click the shortcut that you want to use.
-
On the title bar, click MY ACCOUNT, and then select Shortcuts.
The Shortcuts dialog box opens.

Select a shortcut, and then click Go.
-
Press Ctrl+B (Windows) or Command-B (macOS).
The Shortcuts dialog box opens.
Select a shortcut, and then click Go.
See also What Is My Library?