Using a data set as the input for another data set allows you to create data completely within the factory, and includes any rules incorporated in the initial data set.
To use an existing data set as input data for a new data set, create a factory-plugin file that specifies the data set that you want to use as input. Then you create the new data set, using the plugin file as the plugin-input.
For more information, see Creating a Measure Factory Plugin.
IMPORTANT: The dimension tag must be removed from plugin files that are used as input for a data set.
Here is an example of ![]() code for a cfg.factory-plugin file.
code for a cfg.factory-plugin file.
NOTE: These instructions do not include creating a scope for the data set.
First, you create the new data set and identify the input type.
-
In the Measure Factory Editor for your factory configuration file, click Data Sets.

The Data Sets page opens.
-
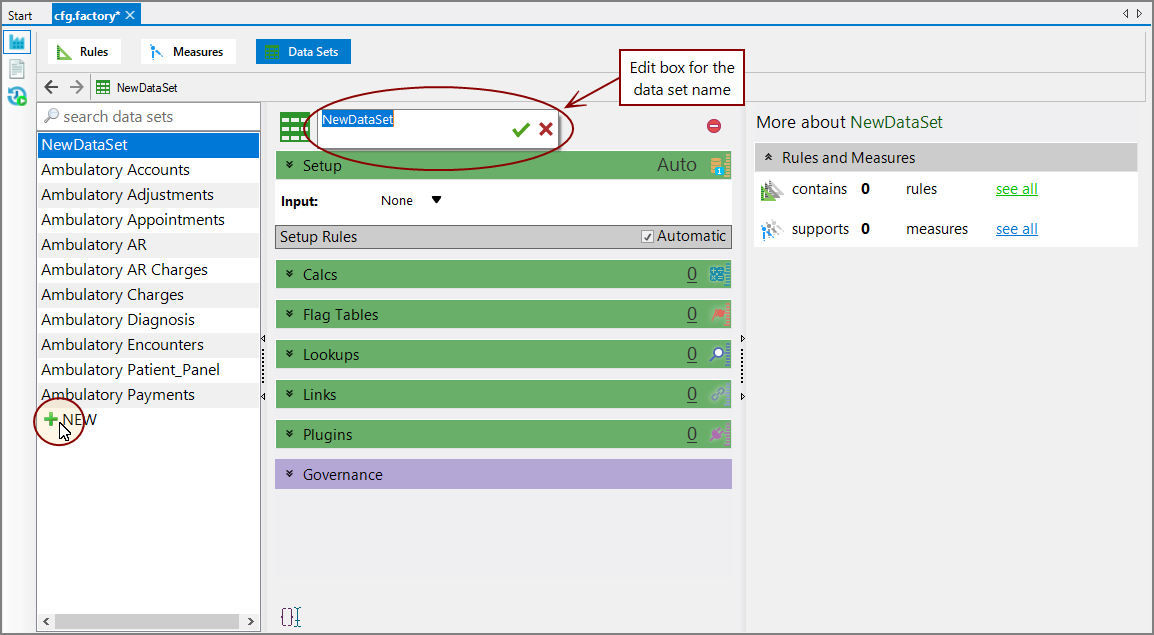
In the left pane, below the search data sets box, click NEW.
The
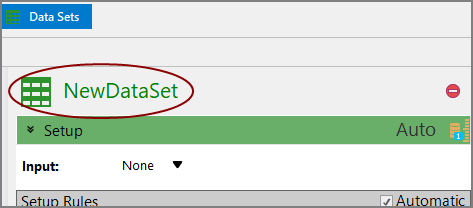
 NewDataSet page opens.
 -
Enter a name for your new data set.
NOTE: You might need to click NewDataSet in the center pane to access the name edit box.
-
Click
 to confirm the name change, or
  to discard your changes.
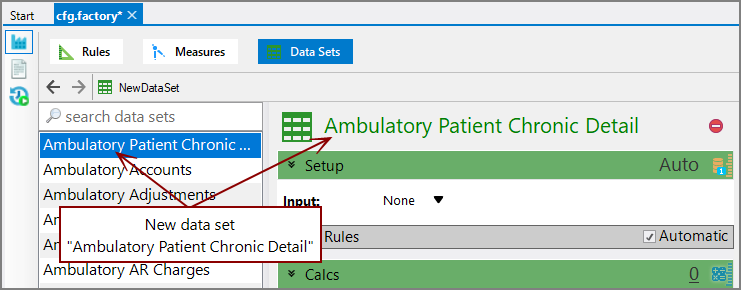
The
 data set is added to the list.
 -
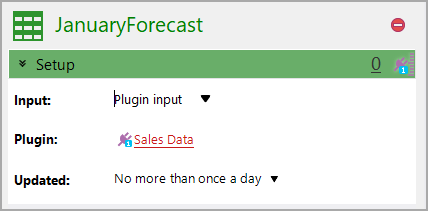
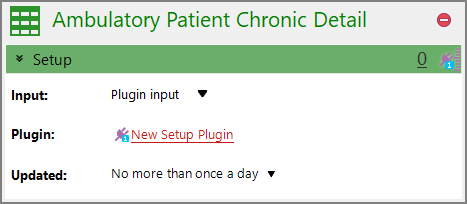
Next to Input, select Plugin input type from the list.
-
Select an updating frequency from the Updated pull-down list. There are two options for updating frequency:
- No more than once a day—This option uses the factory defined current date, which is considered the most recent completed date. This is the default.
- More than once a day—This option moves the current date forward by one day for any calculations on this data set. This is intended for data sets that are updated throughout the day, and therefore are not considered a complete day.
- Save the tab.
Next, identify the input columns and the output rules, or Setup Plugin Rules.
-
Click New Setup Plugin.
The Plugin opens in the detail pane.
-
Click New Setup Plugin in the detail pane and enter the name of the Plugin you are using as input.
-
Click
 to confirm the name change, or
  to discard your changes.
For a new Plugin, a warning appears in the
 detail pane on the right.
 -
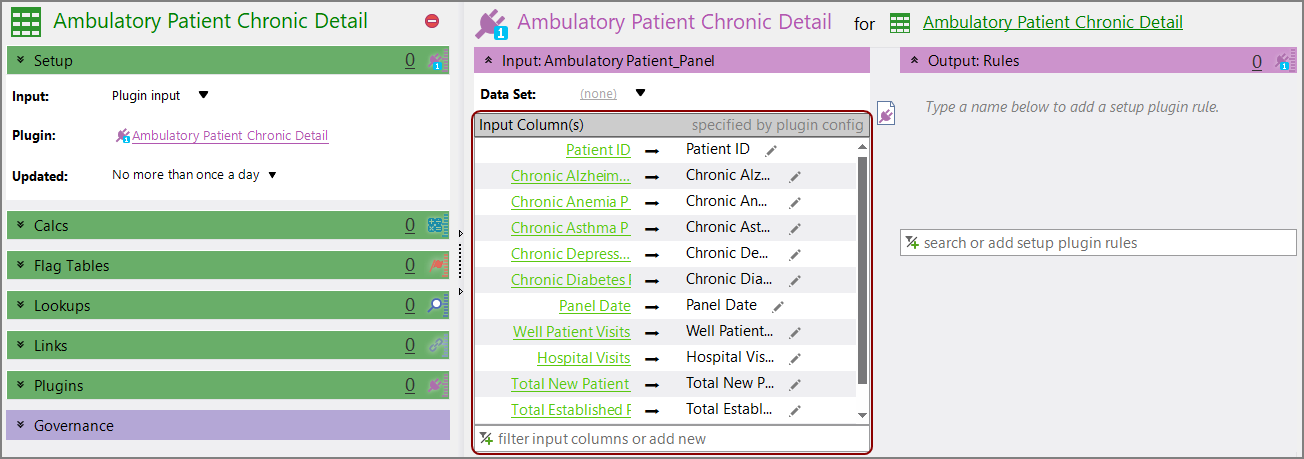
Click Automatically match *.factory to plugin config to pull the plugin definition into the factory configuration.
The
 Input Column(s) list is populated with the input columns from the Plugin.
 - Optionally, if the input name is different from the data set name, you can choose the data set explicitly using the Data Set list in the detail pane.
-
Enter the name of the setup plugin rule in the search or add setup plugin rules text box.
TIP: These names are from the output block of the Plugin. Open the factory-plugin file to review the setup plugin rule names.
-
Click
 , next to the rule name.
The setup plugin rule is added to the table
-
Repeat Steps 6 and 7 for all of your setup plugin rules.
- Save the tab.
-
Locate and double-click the file where your data set is stored.
TIP: This is typically a factory configuration file, such as cfg.factory. As of version 7.1(13), this could also be a factory-data-set file.
The script opens.
- In the data-set block, add the plugin-input block and specify the name in quotes.
-
In the plugin-input block, identify the plugin input, which is the plugin name. For example, Ambulatory Patient Chronic Detail.
-
Add the input block and specify the input name.
IMPORTANT: The name of the input is the same as the input used in the cfg.factory-plugin file. If, as in the factory-plugin file, the name of the data set used is not the same as the input, use the data-set attribute to explicitly define the data set.
-
In the input block, specify the same columns from the input block for the cfg.factory-plugin file. If, as in the factory-plugin file, the name of the rule is not the same as the column name, use the rule attribute to explicitly define the column.
NOTE: Do not include the type attribute with the column tag.
-
In the plugin-input block, add the plugin-rules. These plugin-rules correspond to the columns in the output block of the cfg.factory-plugin file.
- Continue modifying your data-set as needed. For more information, see Adding Data Sets Using the Measure Factory Editor.
- Save the file.
Here is an example of the ![]() code for the data set.
code for the data set.
See also:
