You can customize some ProDiver settings to suit your preferences. On the menu bar, select Window > Preferences. The following options are available.
Models: Auto Close at n Models—Defines the maximum number of models or cBases that can be opened at the same time. If you attempt to open n+1 models or cBases, all previously opened models or cBases close, leaving only the newly opened cBase or model open. This setting is blank by default.
NOTE: All open models or cBases must be in the same project. You cannot open multiple projects at the same time.
Windows: Window Placement—Defines where child dive windows open. Options are:
-
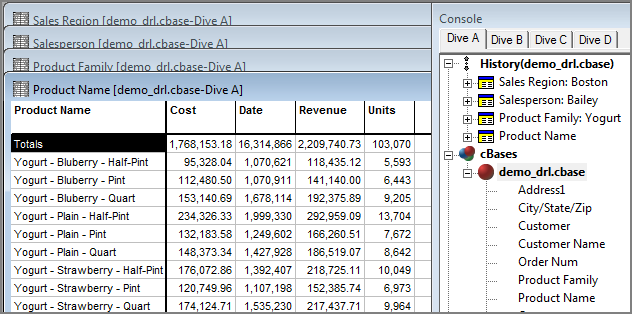
Overlapped—The active window completely obscures the previous dive windows.
 Example.
 -
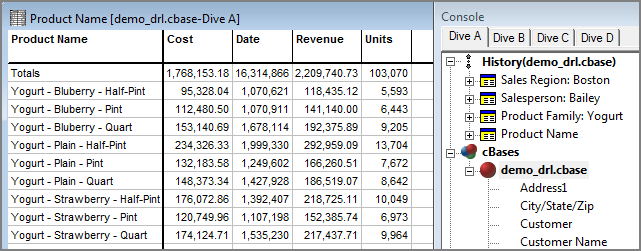
Stacked (default)—Windows are slightly offset so that the header of each parent window is visible.
Example.
Match Child to Parent Window (selected by default)—When selected, the size and position of child windows matches the parent windows.
Enable Window Controls (selected by default)—When selected, you can close, move, and resize dive windows. If this check box is cleared, you cannot close, move, or resize dive windows.
Options—Click to open the Options dialog box, which provides the option to Hide common errors when opening DivePlans and Markers.
NOTE: Setting this option affects non-fatal errors only. You will be notified if serious errors occur.
Appearance: Default Font—Click Select to open the Font dialog box, which you can use to specify the font type, style, size, script, and the underline effect.
The default values are Segoe UI, Regular, 10px.
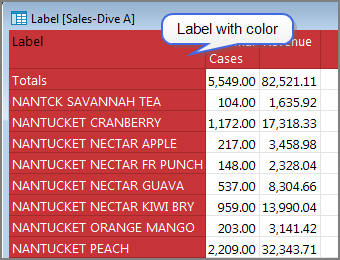
Default Label Color—When this check box is selected, the fill color of the row and column headers cells appear with the specified color. Click Select to open the Color dialog box, which you can use to specify this color. ![]() Example.
Example.
NOTE: When this option is not selected, the default label color is #aocff2 (RGB 160,207,242)  .
.
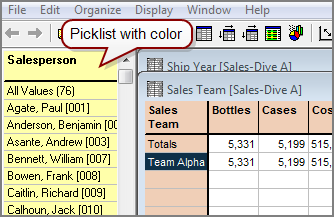
QuickViews: Picklist Color—When the check box is selected, picklist cells appear with the specified background fill color. Click Select to open the Color dialog box, which you can use to specify this color. ![]() Example.
Example.
Specify the Number of Decimal Places for New Columns: Decimal Places—Select a value from 0–6. Default is 2.
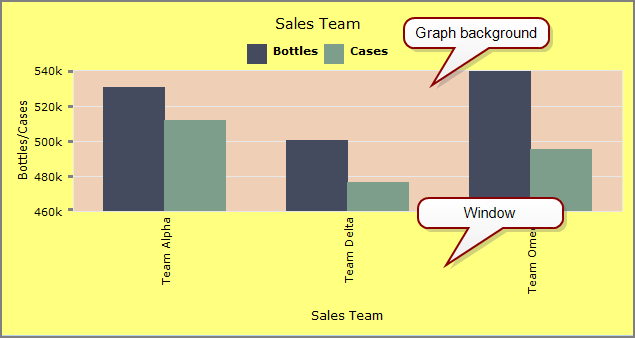
Appearance: Window Background and Graph Background—Click the box to open the Color dialog box, which you can use to specify background fill colors. ![]() Example.
Example.
Graph Font and Graph Label Font—Click Select to open the Font dialog box, which you can use to specify default font type, style, size, script, and the underline effect.
Graph Colors: Defines the default colors or patterns that display graph data. Click a color box to open the Color dialog box, which you can use to specify graph data colors. Click a pattern box to open the Select Pattern dialog box, which you can use to specify graph data patterns.
NOTE: Patterns are used only if you are not using a color monitor or if you are printing to a legacy black and white printer that does not recognize grayscale.
Reset Colors—Click to return all colors and patterns to their default values.
Graph Calendar: First Day of Week: Use the list to select the day of the week that appears first on a calendar graph.
Aligns a map data set that corresponds with the geographical data in the cBase or model.
Map Directory: Click Set to browse to the MapData directory.
Map Folders—Select the map that you want to use as default from the list of available map files in the MapData directory.
Server: Select or enter the DiveLine server name.
Change Password—Click to open the Password dialog box, which you can use to change the DiveLine password.
NOTE: This option requires permission. If the Change Password button is unavailable, contact your Diver Platform developer.
Use IPv6—Select the check box if you are using Internet Protocol version 6.
Download Directory—Click Set to browse to the folder that you want to select as the default directory for model downloads.
NOTE: Downloading models requires permission from your Diver Platform developer.
Override default Report Font—Opens the Report Font dialog box, which you can use to define the default font type and size used in reports.
NOTE: Although the dialog box shows options for the font style, only the font type and size settings are saved.
Changing preference settings affects new and open dive windows.
NOTE: Preference settings can be overridden using various edit features.