Adding a Column to a Measure Factory Tabular Display
When you dive on a dimension in ProDiver with a Measure Factory license, the initial tabular display shows the dived-on dimension in the left-most column, and a value count column (labeled Count).
You can add one or more Measure Factory data columns to the dive window.
NOTE: The examples on this page use a Data Set DivePlan. Therefore, all available columns are dimcounts or rules unless the name is preceded by Measure. Alternatively, when All Measures DivePlans are used, the filtering is different and all available columns are measures unless the name is preceded by Rule.
To add data columns:
-
Do one of the following:
- Right-click anywhere on the tabular display, and then select Select Columns.
- On the toolbar, select Data > Select Columns.
The Select Columns dialog box opens.

The Available box lists columns that are hidden. The Selected box lists columns that appear in the dive window.
NOTE: Some of the available columns are your measures. They are identifiable because Measure: precedes the column name. In the image above, there are four measures listed in the available columns list.
-
Select the available columns that you want to add to the display, and then click >> to move them to the Selected list. You can select multiple columns by pressing and holding the Ctrl key, while you select columns.
Alternatively, double-click a column name to move it to the other list.
-
When you are finished moving columns, click OK.
-
To save the changes, select File > Save > Save DivePlan.
NOTE: If the dive window is displaying a cross tabular or a multicross tabular display, the CrossTab Dimension box shows the horizontal dimension. You cannot change the horizontal dimension that appears in the active dive window using this dialog box. However, you can select columns that you want to include in the display in addition to the summary column that was specified when the CrossTab was created.
Alternatively, you can add a single column with a customized label as a heading:
-
Do one of the following:
- Right-click anywhere on the tabular display, and then select Add Column.
- Double-click the heading cell of a blank column.
- On the toolbar, select Data > Edit Columns, and then on the Edit Columns dialog box, select Add.
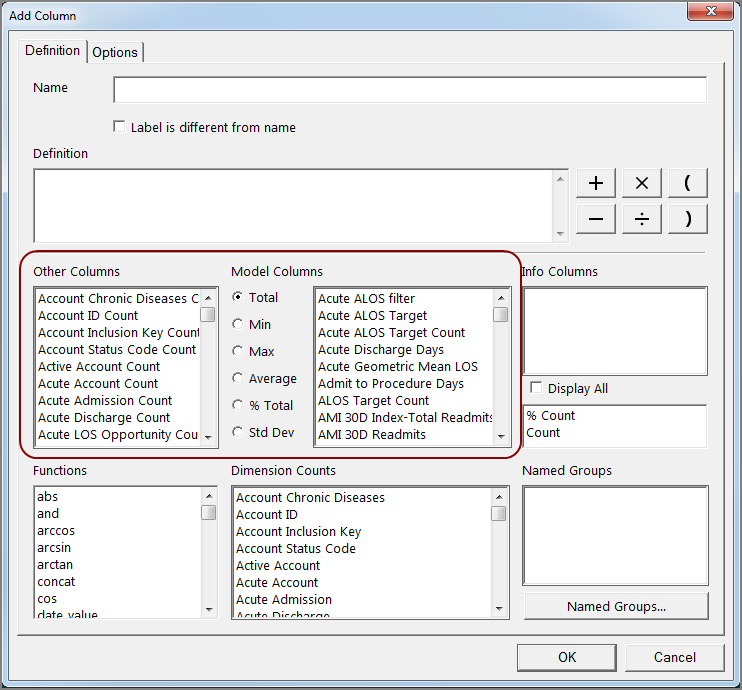
The Add Column
 dialog box opens. ProDiver populates some boxes depending on the existing DivePlan or cPlan.
Typically, you use a measure or calculated rule that is defined in the factory configuration.
- The Other Columns box lists measures, dimcounts, and calculated rules. Measures names begin with Measure:
- The Model Columns box lists numeric rules (summaries).
- Select the column that you want to add to the tabular display.
- Provide a Name for the column heading.
-
Click OK.
-
To save the changes, select File > Save > Save DivePlan.