Adding a Dimension Name Item
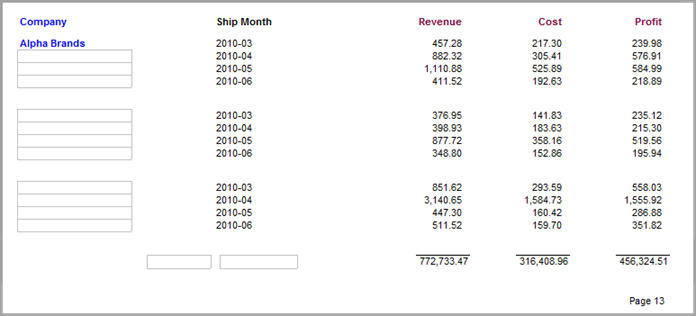
This procedure uses the report created with the Creating the Baseline Report for Add Items Tasks topic, to illustrate how to add the Salesperson dimension name as a column heading.
Complete the following steps:
-
Open the marker file containing the baseline report with deleted items.
-
To
 display the report in edit mode, click the Lock/Unlock icon.
 -
To open the
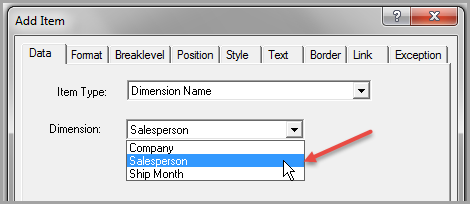
Add Item dialog box, click the Add Item icon. -
In the Item Type list, select Dimension Name.
-
In the Dimension list, select Salesperson.
-
Click OK to
add the dimension name Salesperson to the report.On the report, notice that Salesperson does not share the same text attributes as Company and Ship Month. To edit the position, breaklevel, and style of Salesperson, update the attributes on the following tabs:
- Breaklevel
- Position
- Style
-
To move Salesperson to a logical position on the report (to the left of Ship Month to reflect the original dive order), complete the following actions:
- Double-click Salesperson to open the Edit Item dialog box.
- In the Breaklevel tab, set the Breaklevel to Page and the Location to Head2.
- In the Position tab, set the Style Name to Column Header.
-
Click OK
to position Salesperson to the left of Ship Month.