Installing a License File
After receiving a DI license file (and before attempting to install the software), you must extract the attached file from the support email to DI\Solution\licenses, and then install the license file.
TIP: After installing a new license, restart DiveLine and Tomcat, and close and reopen the software to update the license information.
- Navigate to the DI\Solution\downloads directory.
-
The User Account Control dialog box opens, asking you to confirm making changes to your device.
NOTE: Depending on your Windows version and user account settings, you might see the Open File - Security Warning dialog box instead. Confirm that you want to open and run the executable.
-
Click Yes.
The DI-License-Admin utility starts.
-
On the Manage Licenses tab, click Install.

-
From the Open License File dialog box, navigate to the DI\Solution\licenses directory.
-
Select the license file that you want to install, and click Open.
NOTE: If you are replacing an existing license with a more restrictive license, the Restrictive License Info dialog opens, asking if you still want to install the file. Note the conditions of the new license, and click Yes.
The license program displays a confirmation message.
-
Click OK.
The license displays in the list of Registered Products.
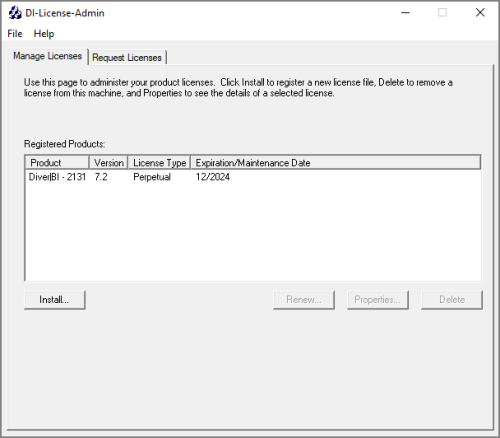
NOTE: Open the DI-License-Admin utility to the Manage Licenses tab to view all registered products and their license types.