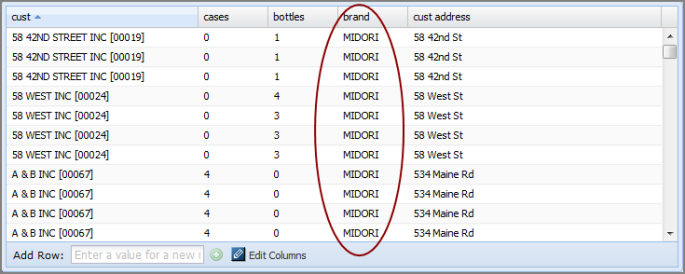
You can add filters to a lookup manager portlet to provide a concise view of the data. A filter causes the portlet to show only the rows where the value of the chosen column is equal to the filter value. For example you could filter the brand column to display a single value instead of all values. When the page refreshes, only rows that show the specified value in the brand column appear on the table.
To add a filter:
- Browse to the page that contains the portlet that you want to edit.
- On the DivePort toolbar, click Edit to unlock the page and enable edit mode.
- Right-click the lookup manager portlet, and then on the context menu, click Edit.
-
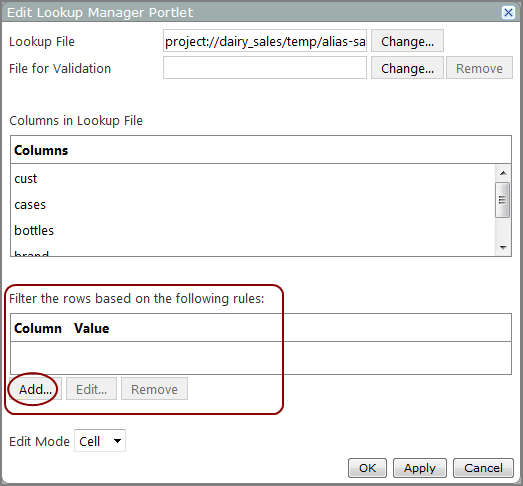
On the Edit Lookup Manager Portlet
 dialog box, under Filter the rows based on the following rules, click Add.
 -
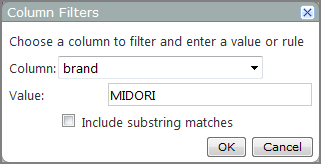
On the Column Filters
dialog box, select a Column and enter a filter Value.NOTE: The value is case-sensitive. If you want to enter a substring instead of an exact match, select Include substring matches.
- Click OK to close the Column Filters dialog box.
- If you want to add another filter, repeat steps 4 through 6, until you have finished adding filters.
-
Click OK to close the Edit Lookup Manager Portlet dialog box.
The portlet applies the filters and refreshes the display.
- On the toolbar, click Save to exit edit mode and lock the page.