When page links are added to a menu portlet in DivePort 7.
TIP: Starting in DivePort 7.
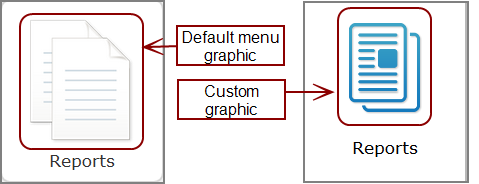
The image library default location is DI\Solution\webdata\<diveport>\ customizations\images. If Workbench is configured with an alias to this folder, you can use Workbench to position your custom graphics so they are accessible to DivePort.
To replace the graphic:
- Ensure that the graphic that you want to use is located in the portal images directory within the DivePort instance.
- Go to the linked page.
-
On the toolbar, click Edit to unlock the page and enter edit mode.
The Edit menu item is replaced with edit tools, including a page context menu chevron.
-
On the toolbar, click the chevron, and on the context menu, click Settings.
The Page Settings dialog box opens.
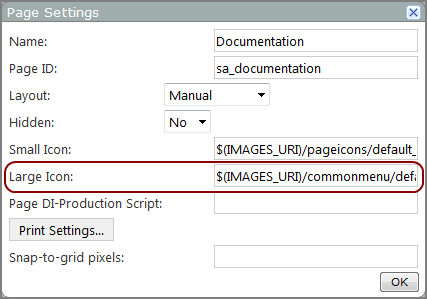
-
In the Large Icon box, enter the path to the image that you want to use. The format is:
$(IMAGES_URI)/<folder-name>/<file-name>
NOTE: The portal variable $(IMAGES_URI), points to webdata\<diveport>\customizations\images.
- Click OK.
- On the toolbar, click Save to exit edit mode and lock the page.
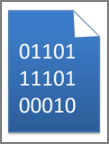
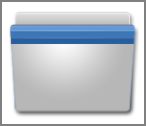
NOTE: The default image (default_icon.png) is located at $(IMAGES_URI)\commonmenu\, as well as other icons such as:
|
|
| $(IMAGES_URI)\commonmenu\data.png
|
$(IMAGES_URI)\commonmenu\folder.png |
|
|
|
| $(IMAGES_URI)\chart\column.png | $(IMAGES_URI)\chart\pie.png
|

|
|
| $(IMAGES_URI)\icons\doctor_80x80.png | |